In this tutorial you will learn how to build a simple vehicle using a CT mini for Forward and Reverse. An example level is added at the bottom of the page.
First, open Principia and create a new custom level.
We will begin by adding a DC Motor attached to a Plank, which will be the base of our vehicle. You can drag the objects from the window on the right side of the screen (under the Basic and Robotics categories in this case), or you can use quickadd (Space on desktop, search icon on mobile) and type in the object name.
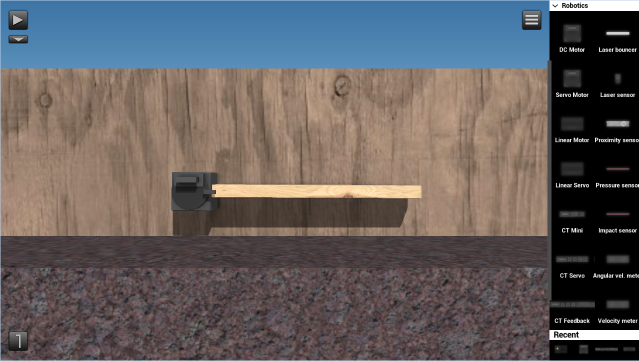
The*DC Motor is powered by being connected to a controller (CT), so lets add that. Select a CT Mini from the Robotics category.
This controller controls the speed and direction of a motor. You can attach it to the middle of the plank or wherever you like.
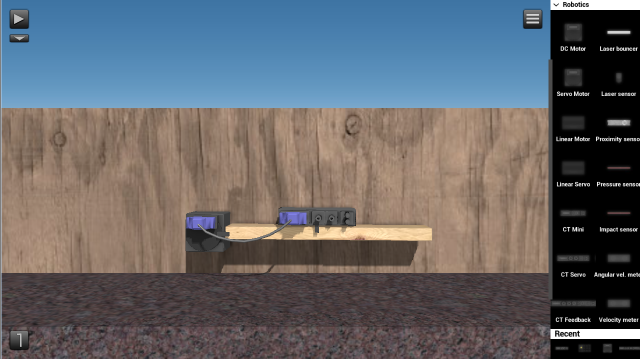
We will have to add an interface cable between the DC Motor and CT Mini so that they can communicate. To do that, simply double click the CT Mini, drag the mouse to the motor and release.
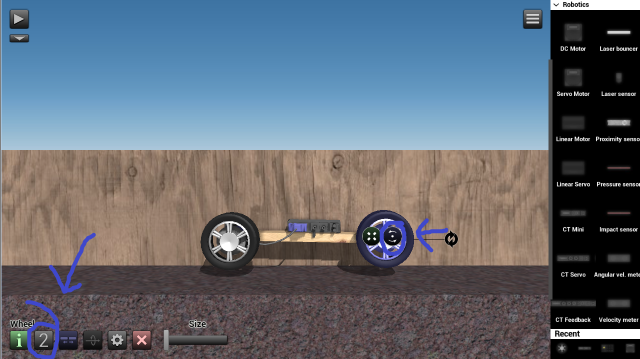
Let's add two Wheels to the vehicle. Before we can attach the wheels we need to move them to layer 2. To do that, click the layer button on the bottom of the screen or press the 'X' button on your keyboard if you're on a PC. Also, when you attach the wheel to the plank you need to make it able to rotate (see screenshot).
We need to add a power source to our vehicle. For this tutorial we will use a Battery (3V) but you can also use a Power Supply for greater speed or more advanced creations. Select your power source and attach it to the plank on the car. Double click it and drag to add a power cable between the CT Mini and the power source (a Battery in our case).
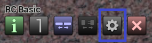
To control the vehicle we will need to add a control panel. Select an RC Basic. Place it above the CT Mini or wherever you like and then click the configuration button with a cogwheel icon.
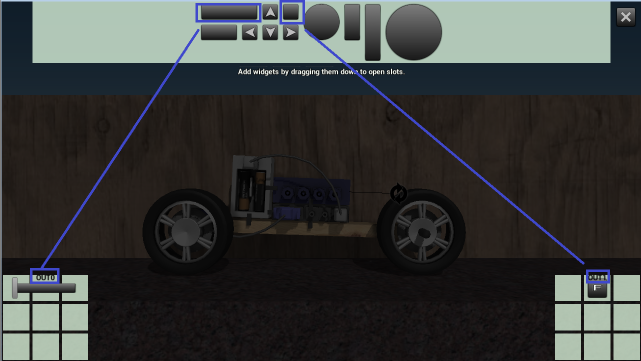
Here we can add widgets and buttons to control our vehicle which will appear on the screen later when we start the level and click on the RC. Each widget will be connected to an output socket, the first widget you place will be connected to OUT0, the second to OUT1, and so on.
In this example we will use the buttons shown in the screenshot. The slider button will adjust the speed of the vehicle and the small button with an 'F' will put the motor in reverse. But first we need to add signal cables between the CT Mini and RC Basic connected to the correct output socket. Double click the CT Mini, drag it to the RC and then click OUT0 and then IN1 (this is for the speed adjustment button as you can see on the screenshot). Now a cable for reverse mode. Double click the CT again, drag it to the RC and click OUT1.
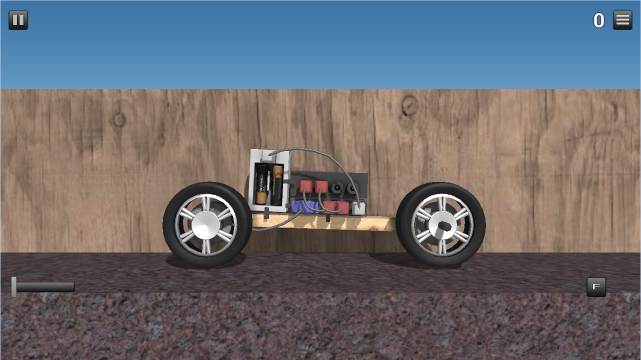
Congrats! You have now built a working vehicle. Click the play button (or 'P') to test it. Adjust the speed with the bar we added to the left and hold F to put it in reverse mode.
In the next part of this tutorial you will learn how to add brakes to your vehicle using a Linear Motor.
