In this tutorial we will upgrade our vehicle to add a brake using a Linear Motor.
First let's open up our vehicle from Building a Vehicle Part 1. If you didn't save yours, you can use this example level. You can also find the finished example level for this part of the tutorial at the bottom of the page.
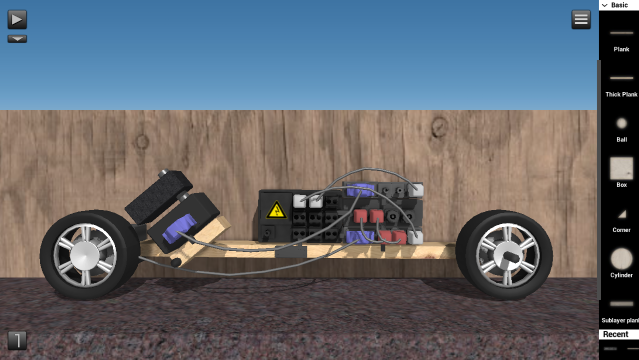
First let's increase the length of our vehicle a bit so we have more room for new objects. We can do this by adding another Plank to the base of the vehicle. First detach the left Wheel and DC Motor. Then add a plank and attach it beside the other plank. Reduce the size of it a bit using the slider (see screenshot).
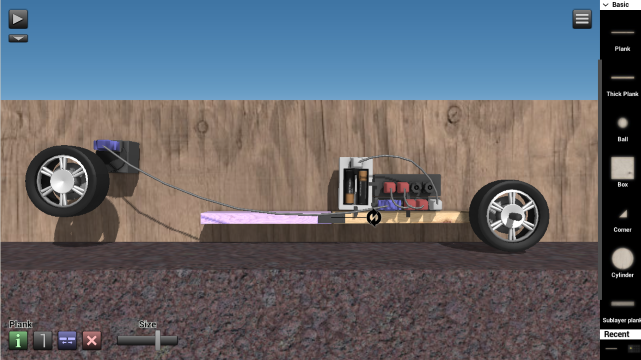
Attach the DC motor on the plank again, and then the wheel.
Tip: If you hold shift (PC) or with another finger on the screen (Mobile) while rotating or moving an object it will snap itself to a grid.
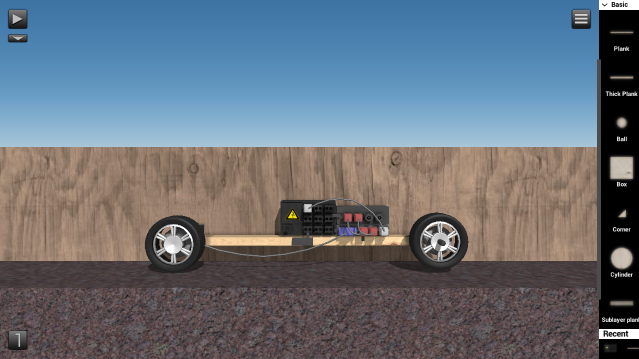
For this new upgrade we will need a stronger power source so let's switch out the Battery (3V) for a Power Supply instead. Click on the battery and delete, then add a Power Supply in its place. With the Power Supply you can increase the maximum speed of the vehicle by clicking on it and adjusting the voltage slider.
Now we're ready to add a brake. For this tutorial we're going to use a Linear Motor with a Rubber Beam attached to it as our brake for the best friction. The Linear Motor is connected to a controller (CT) and when it's used it will move its pivot (where the Rubber Beam is attached) to the target end of the motor, in this case towards the back wheel. The Rubber Beam will then bump into the wheel and cause the vehicle to stop.
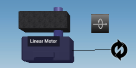
So add a Linear Motor and Rubber Beam to the level and then reduce the size of them both to smallest so the brake don't take up too much space. Toggle the axis rotation of the Linear Motor and connect them like this:
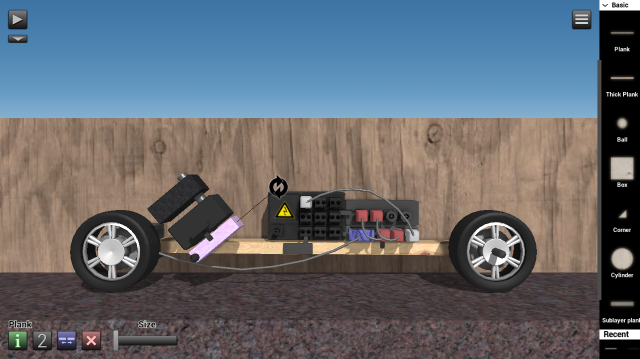
We'll add a small plank on layer 2 of the vehicle to put the brake on. It's best if you rotate the plank a little bit before you attach it so that the Rubber Beam points directly toward the wheel, like on the screenshot. Switch the layer of the Linear Motor and then attach it to the small plank.
You can increase the force of the brake by clicking the Linear Motor and adjusting the slider, but be careful that you don't set it to maximum force or it won't move when used (0 speed).

We need a controller for the brake to work so let's add another CT Mini to the vehicle. Double click the CT Mini to drag an interface cable to the Linear Motor. Then double click the Power Supply to add a power cable to the CT Mini.
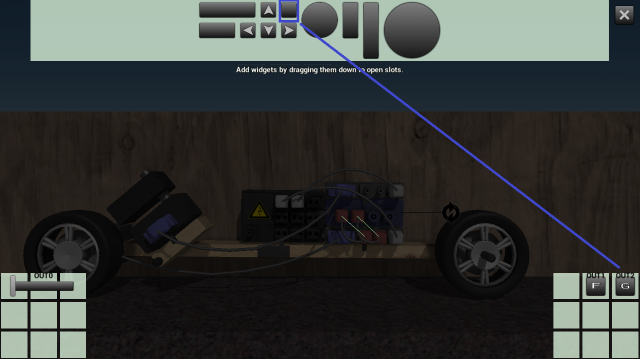
Now there's only one thing left to do: Add a button to control the brake. To do that, click the configuration button of the RC Basic to open up the same window as in the previous tutorial. Then drag out a button for the break as shown in the screenshot.
Then double click the RC Basic to drag a signal cable to the CT Mini, choose IN2 (~reverse) as the input socket and OUT2 as the output socket. This will put the motor's pivot in its activated state by default when not used, so that the brake (Rubber Beam) is automatically reversed after being used.
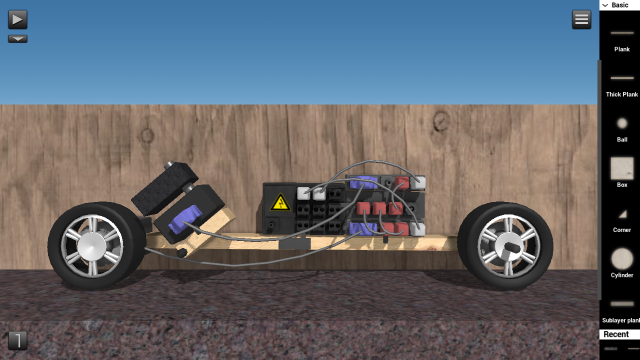
The part 2 of this vehicle is now finished! Click play and then activate the RC to try it out.
In part 3 of this tutorial you will learn how to build a cannon for your vehicle.
